Above the Arctic Circle at latitude 66°33′ North, the Earth's axial tilt generates two opposite celestial phenomena: the Midnight Sun during the summer solstice and the Polar Night during winter. The northern tier of Norway—spanning the counties of Nordland, Troms, and Finnmark—occupies the geographic sweet spot directly beneath the Auroral Oval, positioning it as one of the world's most accessible regions for witnessing both continuous daylight and the aurora borealis.
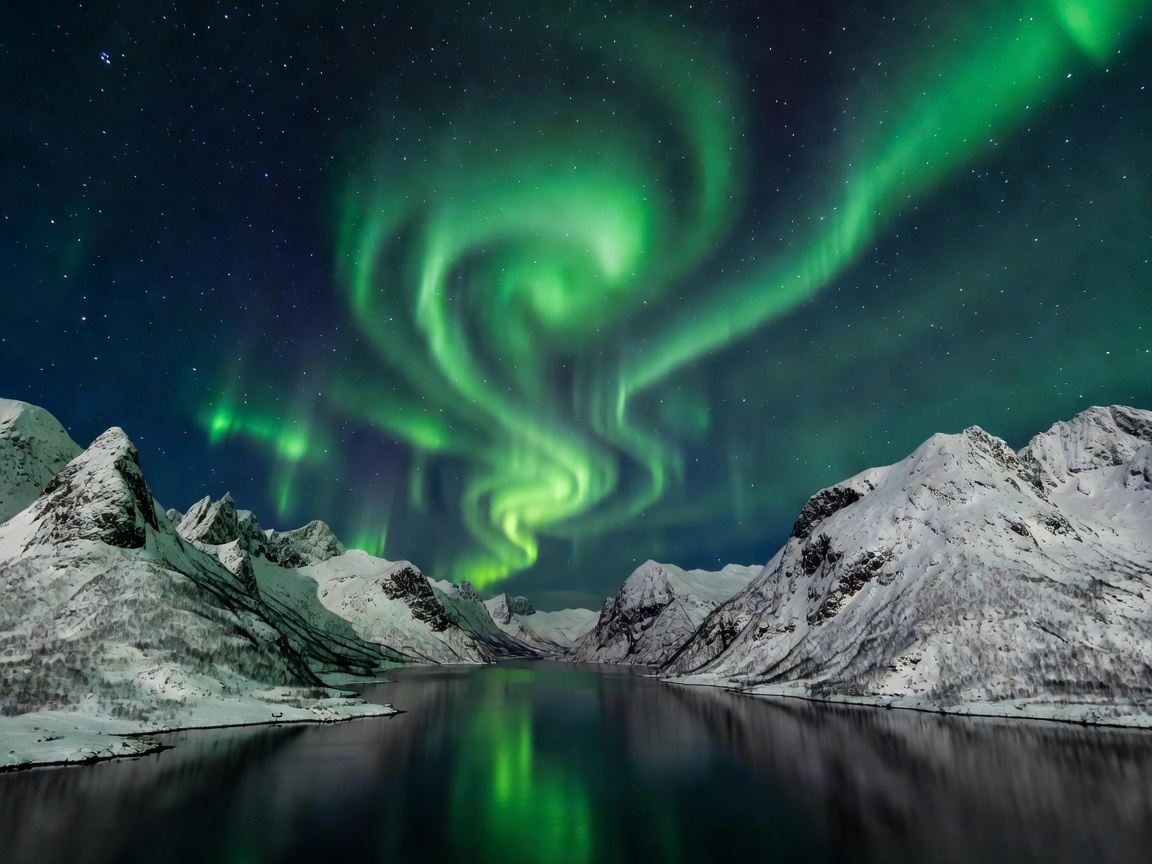
The Science of Aurora Borealis
The northern lights originate when solar wind—composed of charged protons and electrons ejected from the Sun's corona—collides with the Earth's magnetosphere. Channeled along magnetic field lines toward the polar regions, these particles collide with gas atoms in the upper thermosphere (100 to 300 kilometres altitude). Collisions with oxygen atoms produce emerald-green hues (at approximately 100 km) and deep crimson shades (above 200 km), while nitrogen interactions generate violet and blue fringe borders.
Optimal Viewing Conditions & The Kp Index
Viewing the aurora successfully requires three concurrent variables: geomagnetic activity, clear unclouded skies, and total darkness away from municipal light pollution.
- Kp Index: The planetary Kp index rates geomagnetic disturbances on a logarithmic scale from 0 to 9. In Northern Norway (Tromsø, Alta, Kirkenes), because of their high geomagnetic latitude, a modest Kp index of 1 to 2 is often sufficient to trigger visible displays overhead. In southern cities like Oslo or Bergen, a Kp index of 5 or higher (minor geomagnetic storm) is required.
- Darkness Window: The aurora occurs year-round, but can only be seen when the sky is dark. In Northern Norway, the visible viewing window runs from late August through early April, disappearing completely during the white nights of May through July.
Microclimates: Coastal Fjords vs. Inland Finnmark
While coastal hubs like Tromsø benefit from warmer marine air, maritime cloud banks frequently obstruct the sky. Successful aurora chasing often involves driving inland past the Lyngen Alps toward Skibotn or the Finnish border plateau, where dry continental microclimates yield significantly clearer nighttime skies.
The Midnight Sun: Mechanics & Dates
Between late May and late July, the sun remains continually above the horizon along Norway's Arctic coast. Rather than setting, the sun dips toward the northern horizon at local solar midnight, casting prolonged golden-hour illumination across the fjords before climbing again at dawn.
| Northern Location | Latitude | Midnight Sun Period | Polar Night Period |
|---|---|---|---|
| Bodø (Nordland) | 67°17′ N | June 4 – July 8 | Sun skims horizon; no true polar night |
| Svolvær (Lofoten) | 68°14′ N | May 28 – July 14 | December 7 – January 5 |
| Tromsø (Troms) | 69°39′ N | May 20 – July 22 | November 27 – January 15 |
| North Cape (Nordkapp) | 71°10′ N | May 14 – July 29 | November 20 – January 22 |
Pros and Cons: Winter Aurora vs. Summer Midnight Sun
Winter Exploration Advantages
The magical atmosphere of snow-covered fjords paired with the chance to see the aurora borealis. Excellent conditions for winter sports, reindeer sledding, and whale-watching excursions along the Arctic coast.
Winter Travel Challenges
Limited daily daylight hours restrict daytime sightseeing and photography. Sub-zero temperatures and icy road conditions require specialized winter apparel, studded vehicle tyres, and flexible schedules for storm delays.
Essential Photography Settings for Aurora
Capturing the aurora requires manual exposure control on a digital camera or smartphone supporting RAW capture:
- Sturdy Tripod: Stable ground support is indispensable to eliminate camera blur during long exposures in Arctic winds.
- Wide-Angle Lens with Wide Aperture: Use a focal length between 14mm and 24mm with an aperture of f/1.8 to f/2.8 to gather maximum low-light data.
- Manual Focus on Infinity: Switch off autofocus and manually focus on a distant star or distant light using live-view magnification.
- Exposure Timing: When the aurora is active and fast-moving, use exposures of 2 to 6 seconds at ISO 1600–3200 to retain distinct ribbon details rather than a washed-out green blur. Under slow, faint auroral glows, extend exposures to 10–15 seconds.